Creating & Managing Jobs
The Client Dashboard is your primary interface for submitting renders to the global network. This guide walks you through the exact steps to create a new job and monitor your fleet of renders.
Step 1: Initiating a New Job
Once your wallet is connected and funded:
- Navigate to the Client Dashboard.
- Click the bright blue New Render Job button located at the top right of the screen.
- The Create New Render Job modal will appear.
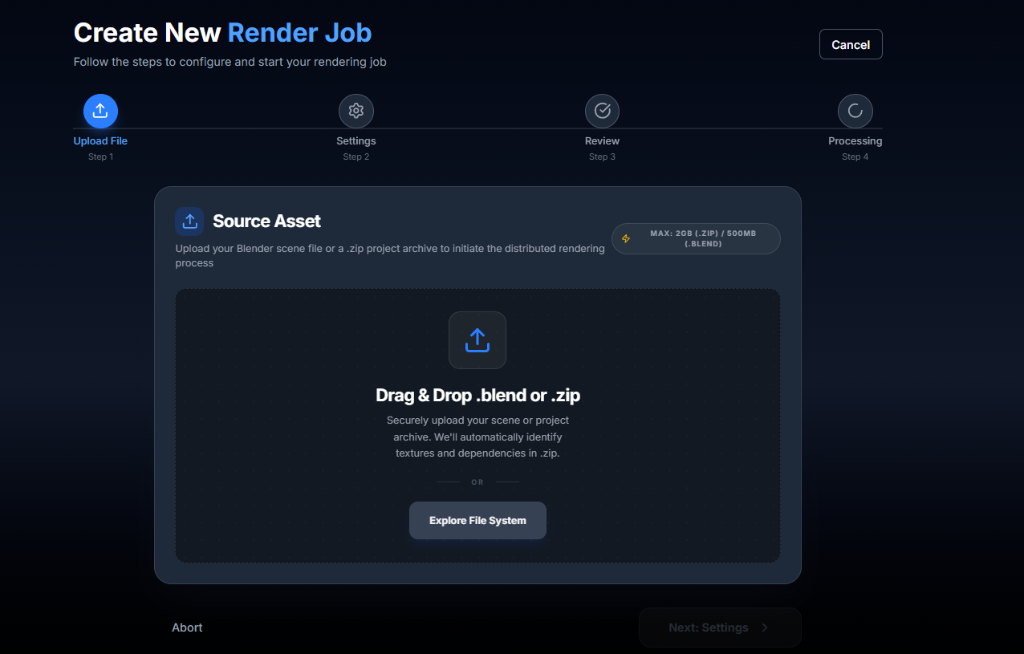
Step 2: Uploading Your Scene
In the upload menu, you need to provide the network with your .blend file. As shown in the panel above:
- You can either Drag & Drop your
.blend(or.zipproject archive) file into the designated area, or click the Explore File System button to browse your computer. - Max upload limit is 2GB for a
.zipand 500MB for a standalone.blendfile. - Once selected, click the Next: Settings button at the bottom right.
Step 3: Monitoring Active Renders
Once submitted, the system will instantly route your scene to available execution agents.
- You can track the progress under the Active Jobs section of the dashboard.
- Click on any specific job to see the live frame rendering progress and estimated time to completion.
- The 4 primary metrics banners (Active Renders, Frames Today, Total Frames, Time Saved) will update in real-time as your job progresses.
Step 4: Retrieving Results
When the job reaches 100% completion, it will move from the Active Jobs tab to the All Jobs ledger.
- Click on the completed job.
- Ensure the status reads FINALIZED.
- Click the Download Final Render button to save the completed frames or video file directly to your local machine.
info
Your job results are temporarily stored securely. Ensure you download your renders promptly, as the stateless staging layer deletes completed jobs after an expiration period.